Overview
My technical writing connects hands-on maker subjects to practical explanations. The published work covers microcontrollers, CNC control hardware, and 3D-printing software.
This page collects the article references and a separate functional-CAD tutorial sample. The publication history and the local build record serve different purposes: one shows published writing, while the other shows the process of developing an explanation around an object.
Published articles
| Article | Subject and publication record |
|---|---|
| Arduino for Beginners: How to Get Started | Introduction to microcontrollers, the Uno, and a first Blink sketch; August 15, 2020 |
| Arduino CNC Shield: Buyer’s Guide | What the shield does and how controller options differ; August 1, 2020 |
| Cura & Linux: How to Make Them Work Together | Installation and first-use walkthrough; June 30, 2020 |
| CNC 3018 (Pro) Software: The Best Programs | Software for the CNC workflow; the reviewed page credits Devan Metz and Guilherme Schendel and records a September 24, 2024 update |
The articles remain on All3DP with their editorial context and revision history. These are historical writing samples; product choices and software instructions should be read in the context of their publication dates.
Functional CAD tutorial
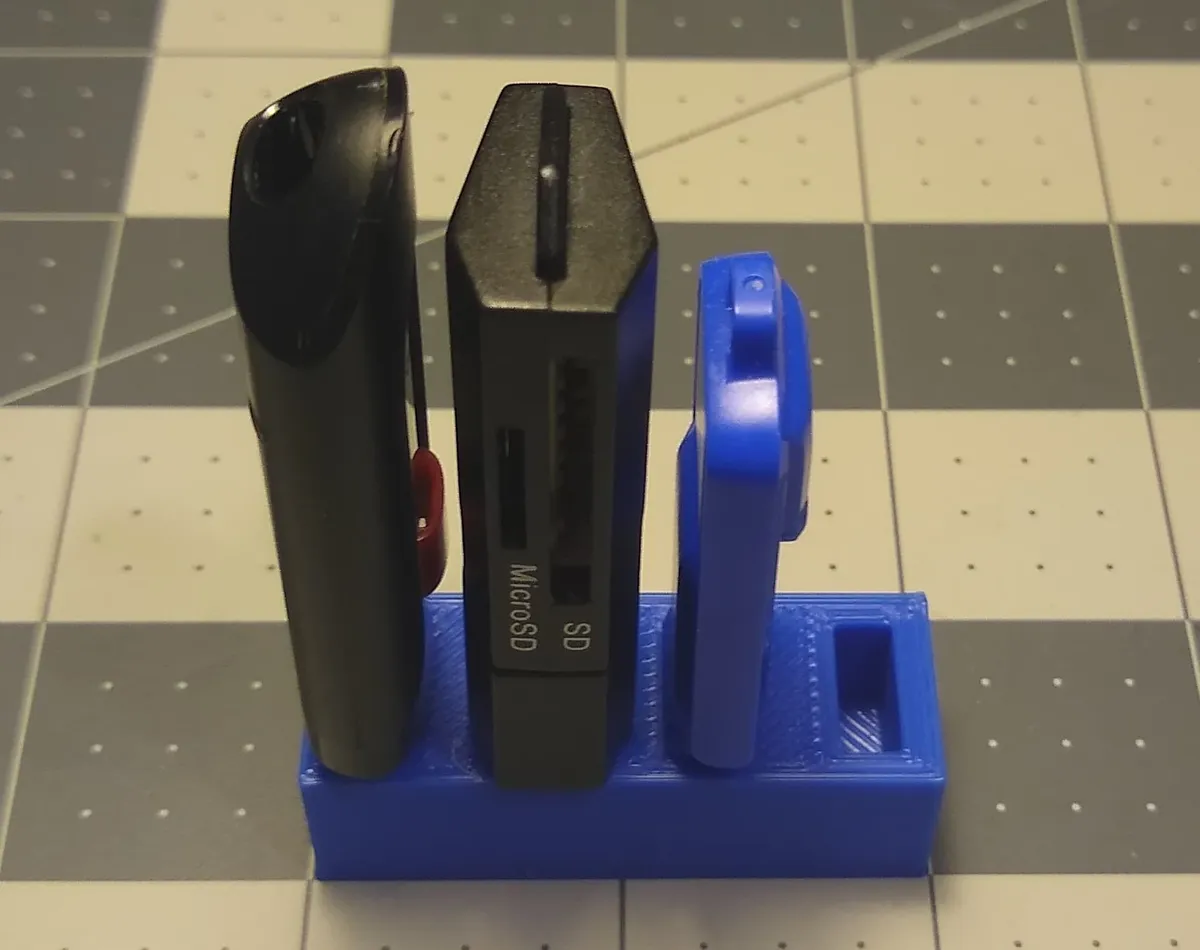
The local writing archive includes an introduction to functional CAD modeling for 3D printing. Its example is a printed organizer for USB drives and a card reader.
The supporting material includes measurements, sketches, modeling captures, and a photograph of the completed part holding the intended devices. The blue organizer in this page’s cover belongs to that tutorial sample, rather than to one of the linked articles.
Explaining through an object
The tutorial’s sequence gives a reader a concrete path through the subject:
- Identify the physical objects that need organizing.
- Measure the dimensions that constrain the holder.
- Turn those measurements into sketches and model geometry.
- Show the intermediate modeling work.
- Compare the printed result with the original need.
Keeping the result visible matters. A final photograph lets the reader connect the software steps to something that fits and functions outside the modeling interface.
What this work demonstrates
The common thread is translation between a technical system and the next decision a reader has to make. An introductory Arduino article needs a clear first action; a CNC hardware guide needs to explain how the parts relate; a CAD walkthrough needs to preserve the connection between dimensions and fit.
The portfolio includes the article links and my original tutorial imagery. It does not reproduce the full published articles or claim later editorial updates as wholly my own work.
For a related example with editable dimensions and printing notes, see Parametric FreeCAD Designs.